How to setup LAMP server on AWS using Amazon Linux AMI
Category: Tech Stuff | Last updated: November 11, 2020
The following steps will help you to install an Apache web server with PHP and MySQL on your Amazon Linux instance.
I took help of following links to create this guide:
- https://docs.aws.amazon.com/AWSEC2/latest/UserGuide/install-LAMP.html
- https://gist.github.com/keithweaver/546e70bd0c88f4bef49b9051b3ba47bb
- Launch EC2 Instance:
- Sign into your AWS account and go to "EC2" service section.
- In "EC2 Dashboard" click "Launch Instance" button.
- Select "Amazon Linux AMI 2018.03.0 (HVM), SSD Volume Type".
- In next screen, select appropriate instance type. You can choose the one which is marked "Free tier eligible" to get started. This can be changed later.
- Click "Review and Launch" button.
- During this process, you will asked to select a "Key Pair" to use with this instance. You can either use an existing key pair or create a new one.
- Download the key pair that you selected. Let's say you saved it with name
myserver.pem - Launch the instance.
- Install Apache/PHP/MySQL:
- On your local system, using the terminal, navigate to the directory where you stored the
myserver.pemfile. - Update permissions for this file -
chmod 400 myserver.pem - SSH into your instance using following command:
ssh -i "myserver.pem" ec2-user@{your public dns}- You can get the public DNS by selecting your instance in the "Instances" page
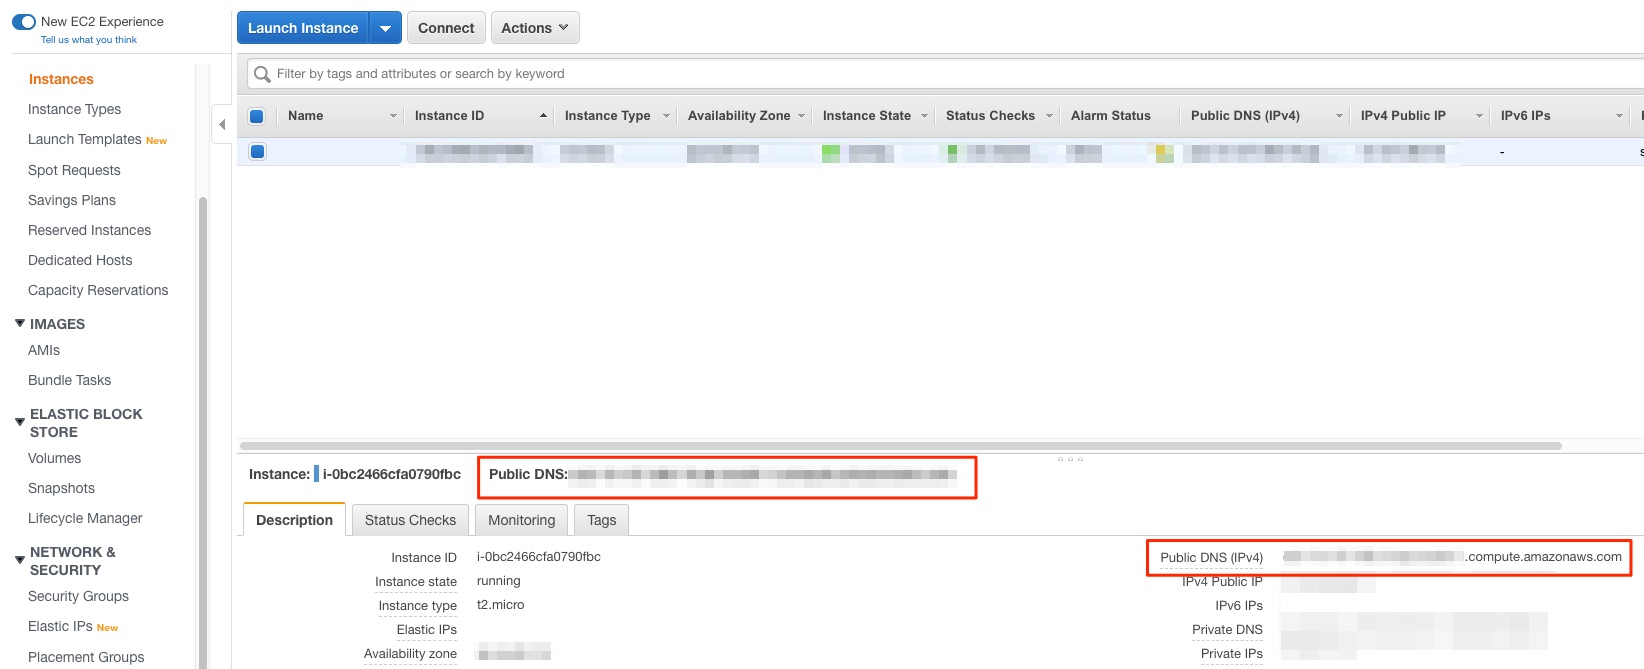
- Example:
ssh -i "myserver.pem" ec2-user@ec2-xx-xx-xx-xxx.compute-1.amazonaws.com
- Update your instance:
-
sudo yum update -y
-
- Install Apache, PHP and MySQL:
sudo yum install -y httpd24 php72 mysql57-server php72-mysqlnd
- Start the Apache Web Server:
sudo service httpd start
- Configure the Apache web server to start whenever system boots:
sudo chkconfig httpd on
- Verify the configuration:
chkconfig --list httpd- It should show following:
httpd 0:off 1:off 2:on 3:on 4:on 5:on 6:off
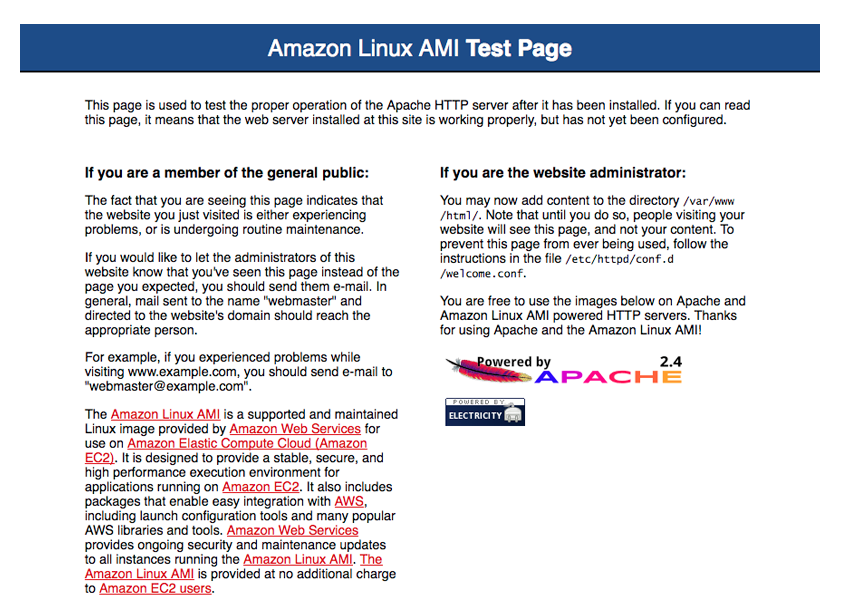
- Make sure that the security group used by the instance allows HTTP traffic (port 80)
- Go to your Public DNS, it shall show Apache test page similar to following:
- On your local system, using the terminal, navigate to the directory where you stored the
- Add/update files to document root:
- By default Apache document root directory is
/var/www/htmlandec2-userdoesn't have permissions to update files in this directory. - To allow
ec2-userto make changes to this directory, we need to change the ownership and permissions of this directory. - We will add
ec2-usertoapachegroup and then give apache group ownership of the /var/www directorysudo usermod -a -G apache ec2-user
- Logout and SSH to your instance again
exitssh -i "myserver.pem" ec2-user@ec2-xx-xx-xx-xxx.compute-1.amazonaws.com
- Verify that you have been added to apache group:
groups- It shall list apache in the groups list, such as:
ec2-user wheel apache
- Change ownership of
/var/wwwdirectorysudo chown -R ec2-user:apache /var/www
- Provide write permissions to the group
sudo chmod 2775 /var/wwwfind /var/www -type d -exec sudo chmod 2775 {} \;find /var/www -type f -exec sudo chmod 0664 {} \;
- By default Apache document root directory is
- Test your LAMP server:
- Create a PHP file named phpinfo.php in your server's document root
/var/www/html/phpinfo.php - It shall just have following content:
-
<?php
phpinfo();
?>
-
- In web browser, visit above file using the public DNS of your instance such as:
http://ec2-xx-xx-xx-xxx.compute-1.amazonaws.com/phpinfo.php- You should see PHP info page similar to following
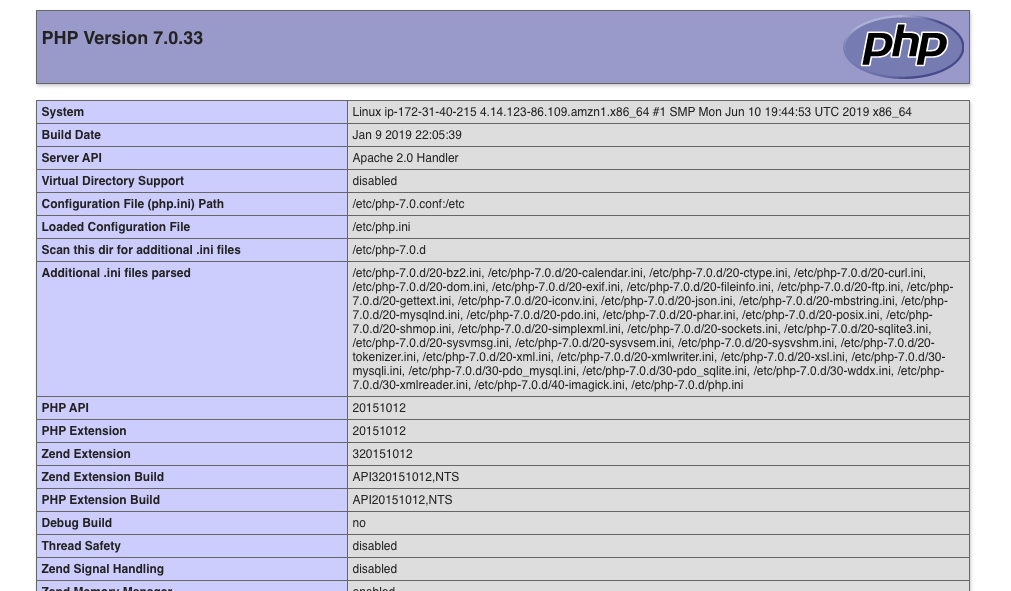
- Create a PHP file named phpinfo.php in your server's document root
- Configure database server:
- Start the MySQL server:
sudo service mysqld start
- Execute mysql_secure_installation command to setup root user password and other settings
sudo mysql_secure_installation- When prompted, enter password for the root user and make sure to save it
- By default the root account does not have any password so you can simply press Enter when asked for root password
- When prompted, enter password for the root user and make sure to save it
- Type Y to remove anonymous user accounts
- Type Y to disable remote root login
- Type Y to remove the test database
- Type Y to reload the privilege tables and save your changes
- To start MySQL server on every boot:
sudo chkconfig mysqld on
- Start the MySQL server:
Get In Touch
Dropping a line to say g’day, ask for my resume or see if we can build something amazing together? I’d love to hear from you!
Email me at
Follow me: