How to setup LAMP server on AWS using Amazon Linux AMI | Samir Dixit
Steps to install Apache web server, PHP and MySQL on your Amazon Linux 2018.03.0 (HVM) instance
How to setup LAMP server on AWS using Amazon Linux AMI
The following steps will help you to install an Apache web server with PHP and MySQL on your Amazon Linux instance.
I took help of following links to create this guide:
- https://docs.aws.amazon.com/AWSEC2/latest/UserGuide/install-LAMP.html
- https://gist.github.com/keithweaver/546e70bd0c88f4bef49b9051b3ba47bb
- Launch EC2 Instance:
- Sign into your AWS account and go to "EC2" service section.
- In "EC2 Dashboard" click "Launch Instance" button.
- Select "Amazon Linux AMI 2018.03.0 (HVM), SSD Volume Type".
- In next screen, select appropriate instance type. You can choose the one which is marked "Free tier eligible" to get started. This can be changed later.
- Click "Review and Launch" button.
- During this process, you will asked to select a "Key Pair" to use with this instance. You can either use an existing key pair or create a new one.
- Download the key pair that you selected. Let's say you saved it with name
myserver.pem - Launch the instance.
- Install Apache/PHP/MySQL:
- On your local system, using the terminal, navigate to the directory where you stored the
myserver.pemfile. - Update permissions for this file -
chmod 400 myserver.pem - SSH into your instance using following command:
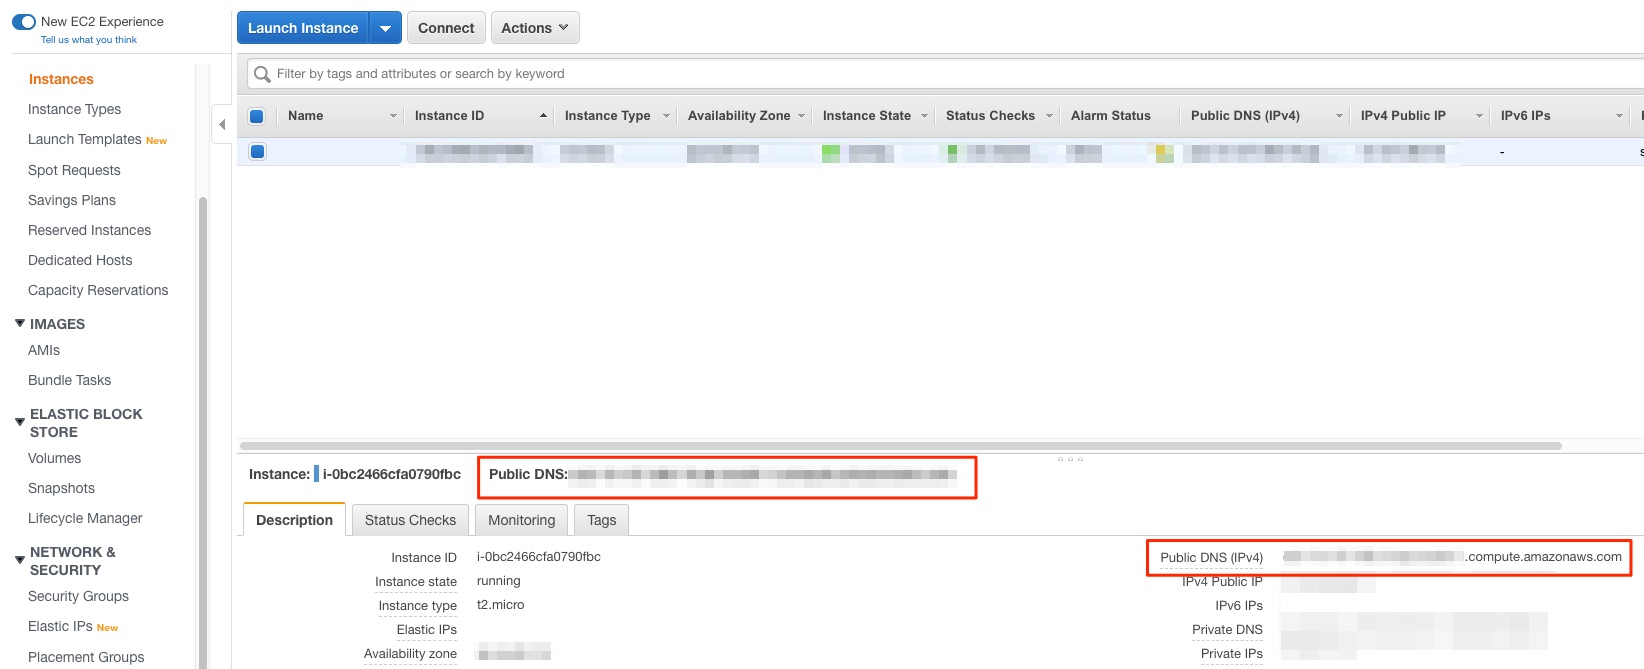
ssh -i "myserver.pem" ec2-user@{your public dns}- You can get the public DNS by selecting your instance in the "Instances" page
- Example:
ssh -i "myserver.pem" ec2-user@ec2-xx-xx-xx-xxx.compute-1.amazonaws.com
- Update your instance:
-
sudo yum update -y
-
- Install Apache, PHP and MySQL:
sudo yum install -y httpd24 php72 mysql57-server php72-mysqlnd
- Start the Apache Web Server:
sudo service httpd start
- Configure the Apache web server to start whenever system boots:
sudo chkconfig httpd on
- Verify the configuration:
chkconfig --list httpd- It should show following:
httpd 0:off 1:off 2:on 3:on 4:on 5:on 6:off
- Make sure that the security group used by the instance allows HTTP traffic (port 80)
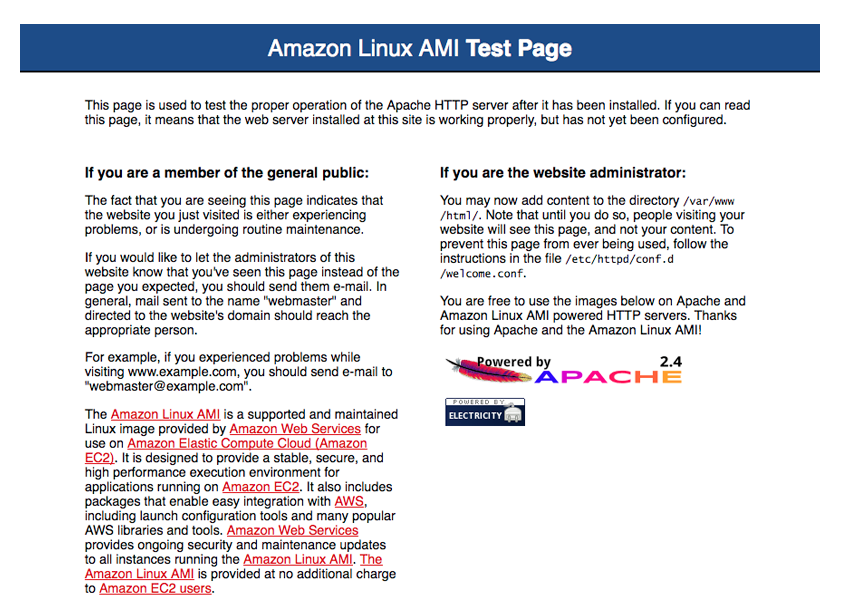
- Go to your Public DNS, it shall show Apache test page similar to following:
- On your local system, using the terminal, navigate to the directory where you stored the
- Add/update files to document root:
- By default Apache document root directory is
/var/www/htmlandec2-userdoesn't have permissions to update files in this directory. - To allow
ec2-userto make changes to this directory, we need to change the ownership and permissions of this directory. - We will add
ec2-usertoapachegroup and then give apache group ownership of the /var/www directorysudo usermod -a -G apache ec2-user
- Logout and SSH to your instance again
exitssh -i "myserver.pem" ec2-user@ec2-xx-xx-xx-xxx.compute-1.amazonaws.com
- Verify that you have been added to apache group:
groups- It shall list apache in the groups list, such as:
ec2-user wheel apache
- Change ownership of
/var/wwwdirectorysudo chown -R ec2-user:apache /var/www
- Provide write permissions to the group
sudo chmod 2775 /var/wwwfind /var/www -type d -exec sudo chmod 2775 {} \;find /var/www -type f -exec sudo chmod 0664 {} \;
- By default Apache document root directory is
- Test your LAMP server:
- Create a PHP file named phpinfo.php in your server's document root
/var/www/html/phpinfo.php - It shall just have following content:
-
<?php
phpinfo();
?>
-
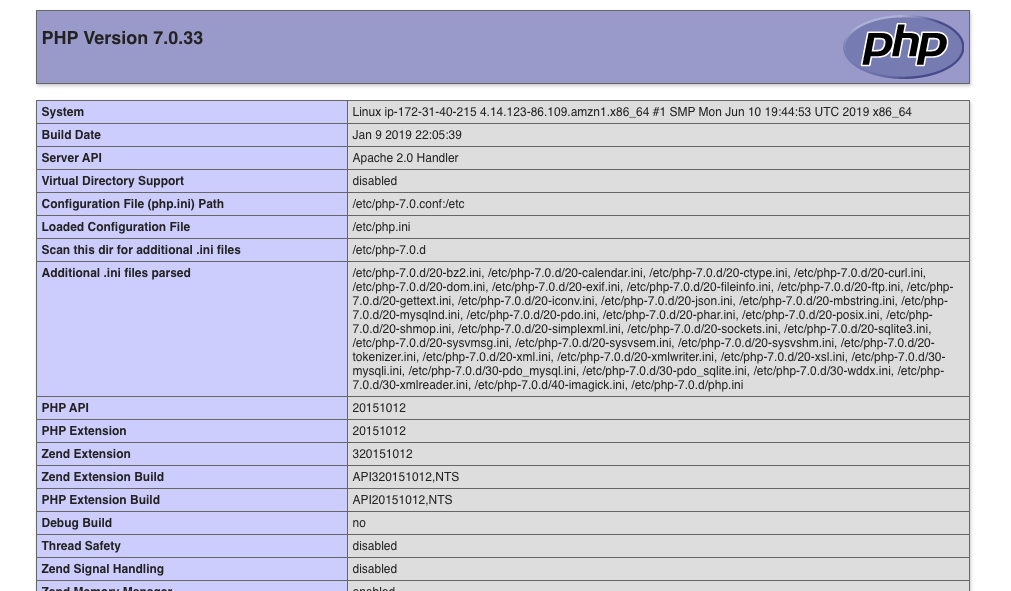
- In web browser, visit above file using the public DNS of your instance such as:
http://ec2-xx-xx-xx-xxx.compute-1.amazonaws.com/phpinfo.php- You should see PHP info page similar to following
- Create a PHP file named phpinfo.php in your server's document root
- Configure database server:
- Start the MySQL server:
sudo service mysqld start
- Execute mysql_secure_installation command to setup root user password and other settings
sudo mysql_secure_installation- When prompted, enter password for the root user and make sure to save it
- By default the root account does not have any password so you can simply press Enter when asked for root password
- When prompted, enter password for the root user and make sure to save it
- Type Y to remove anonymous user accounts
- Type Y to disable remote root login
- Type Y to remove the test database
- Type Y to reload the privilege tables and save your changes
- To start MySQL server on every boot:
sudo chkconfig mysqld on
- Start the MySQL server: